On Windows systems ASN1C includes a Visual Studio wizard to help you with creating projects that use ASN1C in Visual Studio 2005 or later. The wizard simply invokes the ASN1C GUI program. You use the GUI to define whatever options you want to have set for generating your code and your project file. Then when you click on the Compile button on the last screen of the GUI, the project file will be created for you. The wizard then loads the project file into your Visual Studio workspace.
To use the wizard, follow these steps:
-
Edit the file ASN1CWizard.vsz in the vswizard folder of your ASN1C distribution with a text editor. Make the customizations to the file that are noted in the comments at the top. Take special note of the instruction to remove the comment lines, as the wizard mechanism will not function if those lines remain in the file.
-
Copy the ASN1CWizard.vsz file, the ASN1CWizard.vsdir file, and the ASN1CWizard.ico file to the VC\projects folder of your Visual Studio installation (e.g., C:\Program Files (x86)\Microsoft Visual Studio 8\VC\vcprojects). The wizard can then be invoked by clicking Visual C++ from the Visual Studio New Project dialog and then choosing ASN1C as the project template.
For example, let's assume you want to use the Visual Studio Wizard to work with code generated from the employee.asn file, which is included in numerous samples provided with ASN1C. The first step is to edit the ASN1CWizard.vsz file. Below is a typical ASN1CWizard.vsz file as furnished with an ASN1C kit (version 6.5.0 in this example):
         # These comment-type lines must be removed in order for this .vsz file to work.
         #
         # The ABSOLUTE_PATH parameter below must be set to the full path specification
         # of the vswizard folder within your ASN1C installation.
         #
         # The OSROOTDIR parameter below can be set to the root of the ASN1C
         # installation.  If OSROOTDIR is already defined as a Windows environment
         # variable, then as long as that definition is what's desired, the definition
         # of OSROOTDIR in this file can be removed.  If OSROOTDIR is defined both in
         # this file and as a Windows environment variable, then the definition in this
         # file will take precedence.  Since this file needs to be copied into the
         # Visual Studio folder hierarchy (see README.txt), this feature can be
         # useful if multiple ASN1C and Visual Studio versions are installed, and a
         # different version of ASN1C is to be used depending on what version of Visual
         # Studio is being used.
         VSWIZARD 7.0
         Wizard=VsWizard.VsWizardEngine.8.0

         Param="WIZARD_NAME = ASN1CWizard"
         Param="ABSOLUTE_PATH = C:\acv650\vswizard
         Param="OSROOTDIR = C:\acv650"
         Param="FALLBACK_LCID = 1033"
         Param="WIZARD_UI = FALSE"
         Param="SOURCE_FILTER = txt
For this example let's assume that ASN1C 6.5.0 was installed into E:\acv650 instead of C:\acv650. Let's also assume that you want to retain the OSROOTDIR setting in this file. You would need to modify this file so it looks like this:
         Param="WIZARD_NAME = ASN1CWizard"
         Param="ABSOLUTE_PATH = E:\acv650\vswizard
         Param="OSROOTDIR = E:\acv650"
         Param="FALLBACK_LCID = 1033"
         Param="WIZARD_UI = FALSE"
         Param="SOURCE_FILTER = txt
Making a copy of the furnished ASN1CWizard.vsz file and editing the copy is recommended.
You then would copy your modified ASN1CWizard.vsz file into the appropriate Visual Studio folder. You would also copy the ASN1CWizard.ico file and the ASN1CWizard.vsdir file from the vswizard folder of your ASN1C distribution into the same location.
Now when you invoke the New Project dialog in Visual Studio and click on Visual C++, you'll see a template named ASN1C:
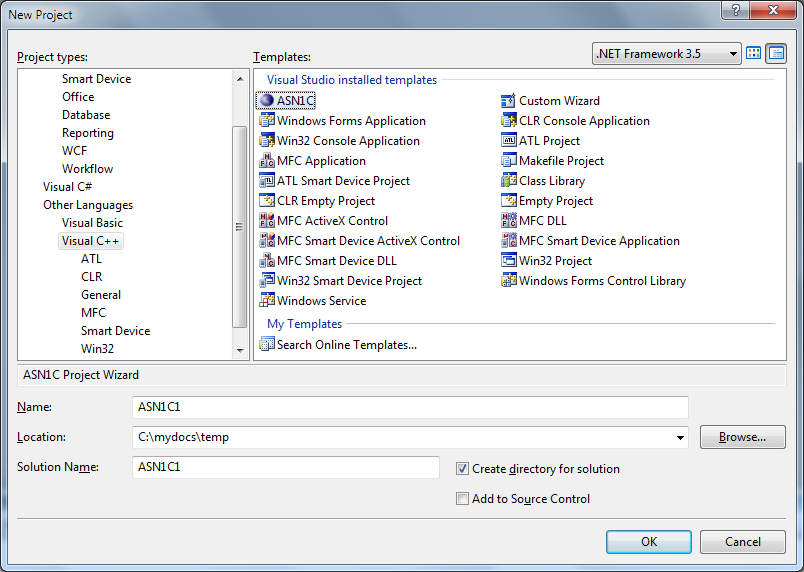
In this example Visual Studio 2008 is used and the dialog is invoked without a solution currently loaded. So Visual Studio suggests ASN1C1 as both the project name and the solution. If, however, the new project dialog is invoked from within the context of a currently loaded solution, Visual Studio will default to adding the project to the current solution. Also note that for this example we assume that you have chosen the folder c:\mydocs\temp as the location.
Next a small window appears that simply tells you that the wizard will now invoke the ASN1C GUI:
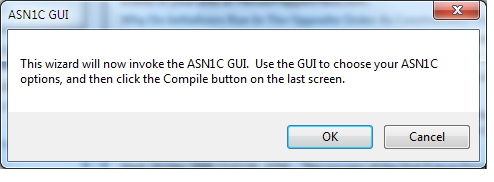
When you click OK in this window, the ASN1C GUI launches:
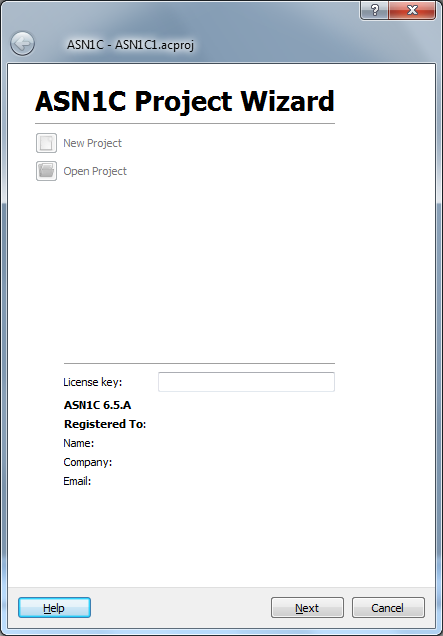
When the ASN1C GUI is invoked from the Visual Studio wizard, the available options are more limited because the wizard instructs the GUI only to enable options that are relevant to the project. In this window, for example, the options to create a new project or open an existing project are disabled.
When you click Next, you are presented with the window that allows you to select the specification files that will be part of the code generation:
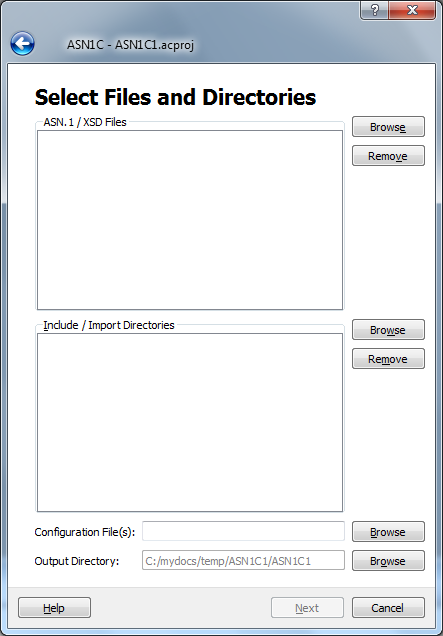
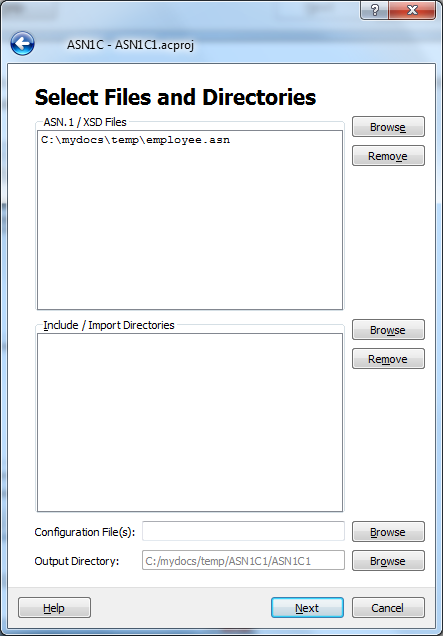
Notice here that the option to specify an output directory is disabled; this value is pre-established by the Visual Studio wizard. For purposes of this example, let's assume that you specify employee.asn as the file from which to generate code:
When you click Next, you are presented with the Common Code Generation Options screen:
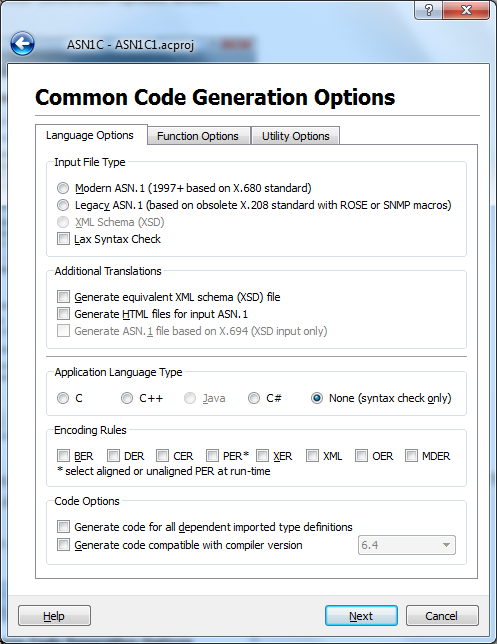
Notice that the option to generate Java code is disabled because the ASN1C GUI knows that it's generating a Visual Studio project. The option to generate C# is enabled because Visual Studio can work with C#. The C# wizard capability is discussed in the ASN1C C# User's Manual.
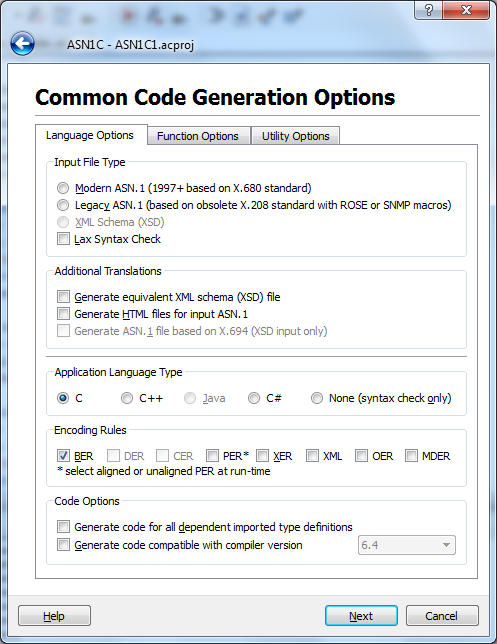
For the purposes of this example let's assume you choose to generate C code for BER:
Let's assume that you make no other selections and click Next until you come to the Compile screen. If you look as you're clicking, you'll see that the option to generate a Visual Studio project file is checked and can't be unchecked, and the version of Visual Studio is 2008, which is the version you're using.
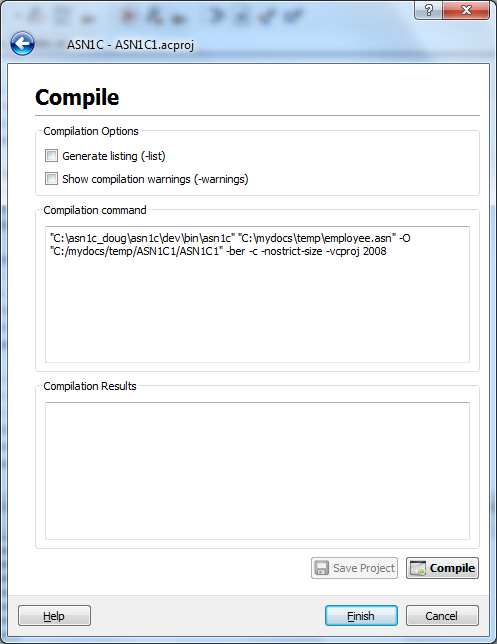
At this point you would click the Compile button to do the code generation. Once the generation is done, you would click the Finish button.
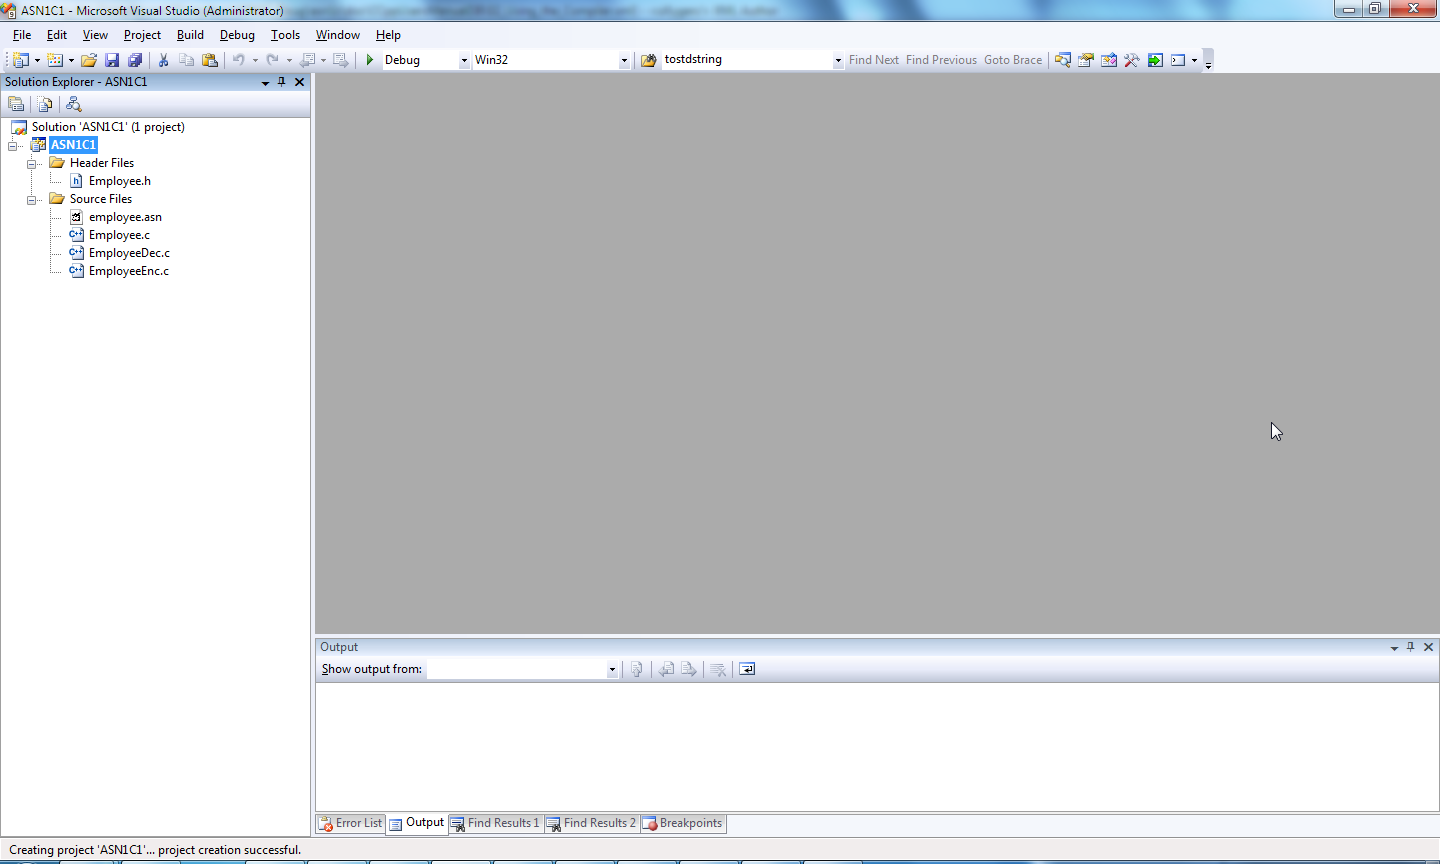
Visual Studio then resumes control. Since in this case the generated project is not part of a solution, it asks you if you want to create a new .sln file. The suggested folder for the new .sln file in this case is the same folder where the new .vcproj file was created.
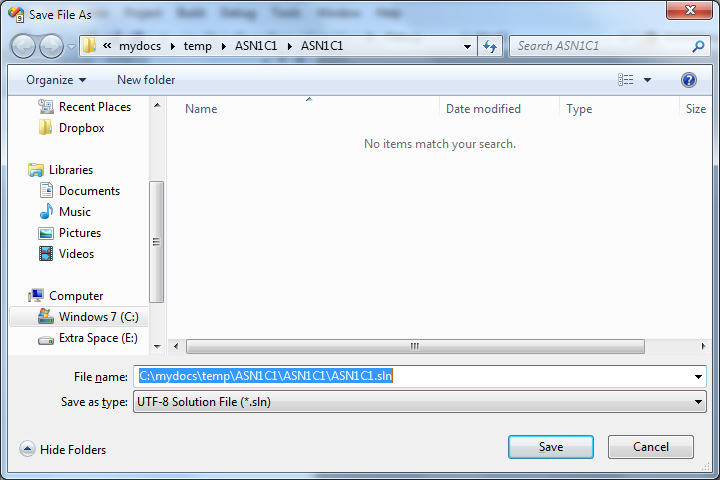
For this example we'll assume you choose to save the .sln file in the suggested location. You now have a solution with one project, and the project contains the source code generated from the employee.asn file: