This section demonstrates running ACGUI, activating a license key, creating a new ASN.1 schema, and compiling it to C for BER data. The process is similar for other languages.
First, start ACGUI. The Enter License Key window may be displayed to activate a license key.
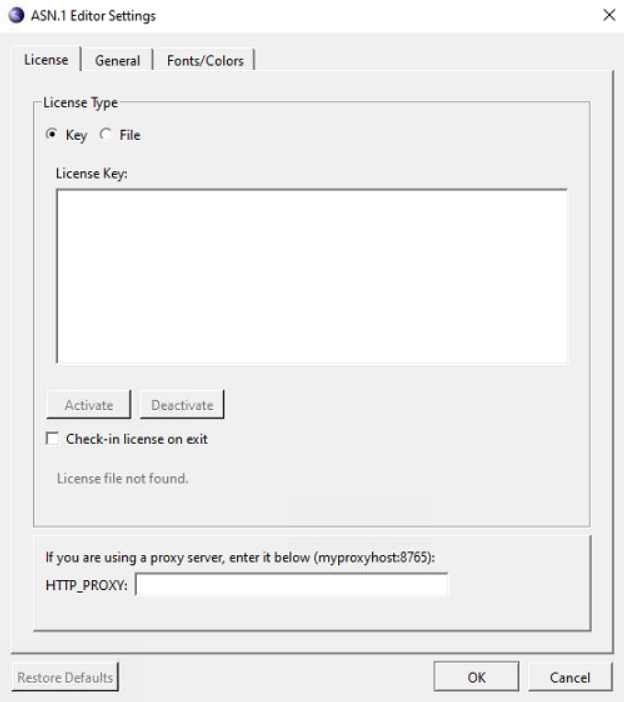
If the Enter License Key window is displayed and it is not showing a current license key, right-click in the text box and paste the accurate license key. Then click Activate to unlock ASN1C.
In some cases, the Enter License Key window is displayed and showing a current license key. In these cases, it is likely that the key being shown is expired. First deactivate the current key by clicking Deactivate. Then, right-click in the text box and paste the current license key, and click Activate to unlock ASN1C.
If an osyslic.txt license file is being used instead of a key, and the osyslic.txt is in a location where the GUI does not look, click Import to find the file and use it to unlock ASN1C.
If Skip is clicked within the Enter License Key window, the features of the GUI can be explored, but code cannot be generated.
If a new license key must be activated and the current one is still valid (for example, if ASN1C is purchased before the evaluation key expires), the existing license must be deactivated first. This deactivation can be done from the GUI by navigating to Tools > Options and then selecting the License tab. The ASN.1 Editor Settings window is displayed.
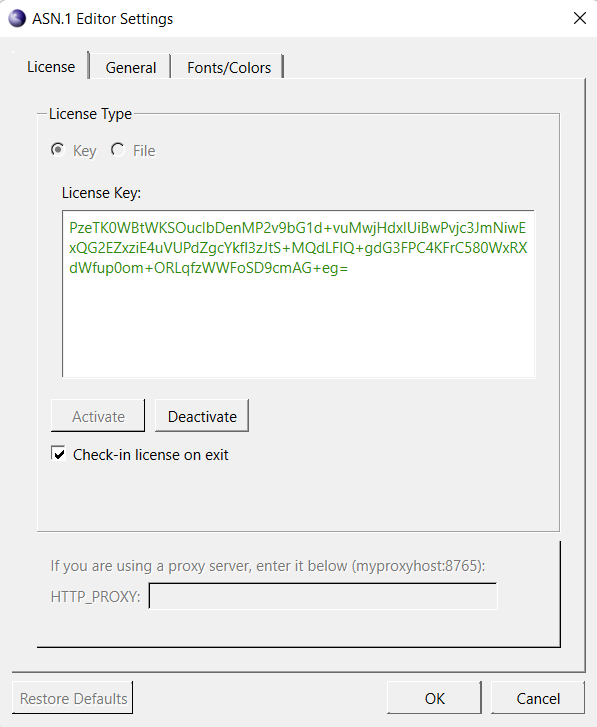
Click Deactivate to deactivate the existing license. Then click OK. Next, navigate to Tools > Options > License tab again to activate the new key.
The "Check-in license on exit" check box is used to indicate that the license should be immediately returned to the license pool upon exit making it available for other users on different machines. If not checked, the machine on which it is being used will continue to hold it until it times out (typically in 24 hours). If you will only be using ASN1C on a single machine most of the time, it is better to keep it unchecked as it will lead to faster startups since the Internet check will not need to be done each time.
The HTTP PROXY box can be used if you are using ASN1C on a machine that requires Internet requests go through a proxy server.
Once the ASN1C program has been activated, a new project can be created to store all of the settings. To do this, select Project > New Project from the menu. The ASN1C Settings window is displayed.
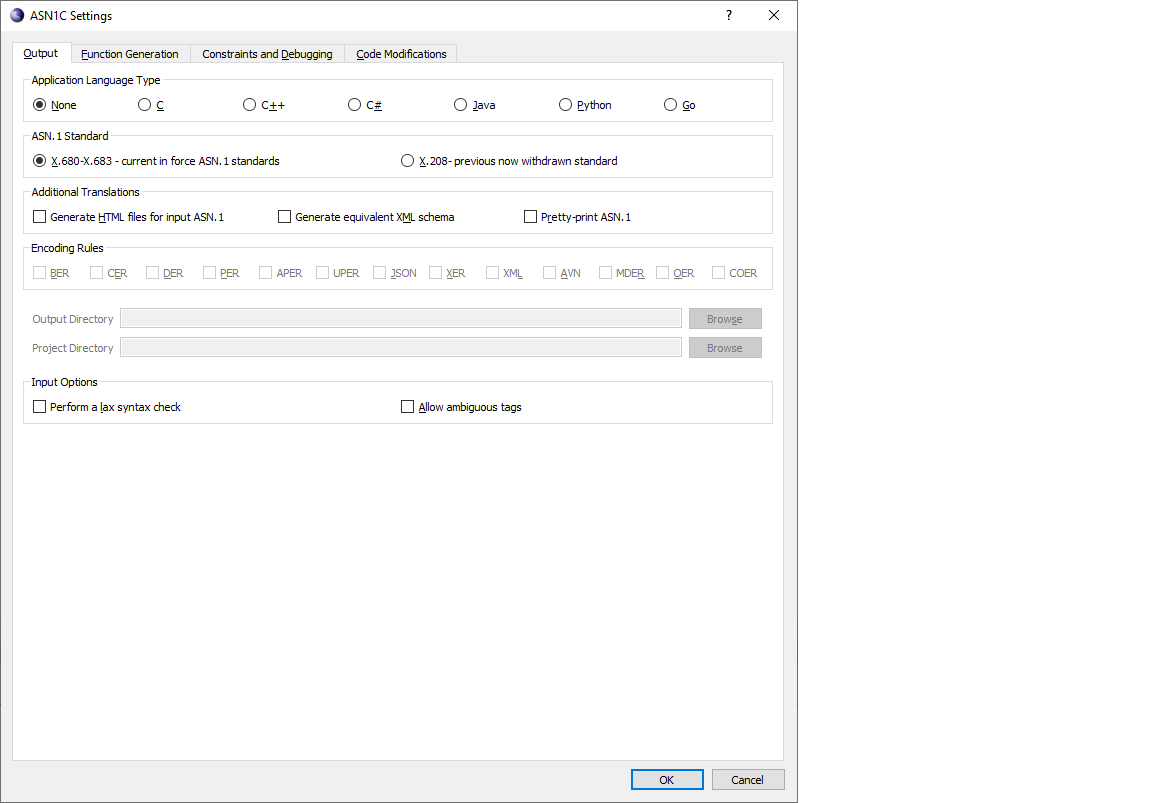
The Output tab is displayed by default. In the Application Language Type section, select C. In the Encoding Rules section, select BER. Finally, in the Output Directory text box, enter or browse to the location where the generated files should be saved. When finished defining the project settings, click OK. These settings can be changed at any time by selecting Project > Project Settings from the menu.
Next, a new schema file is created for the project. Click New in the toolbar or navigate to File > New Schema File. A dialog box is displayed to define a name for the new file. Once entered, the file is added to the project window under the "Schema/ASN.1 files" heading and its empty contents are shown in the editor.
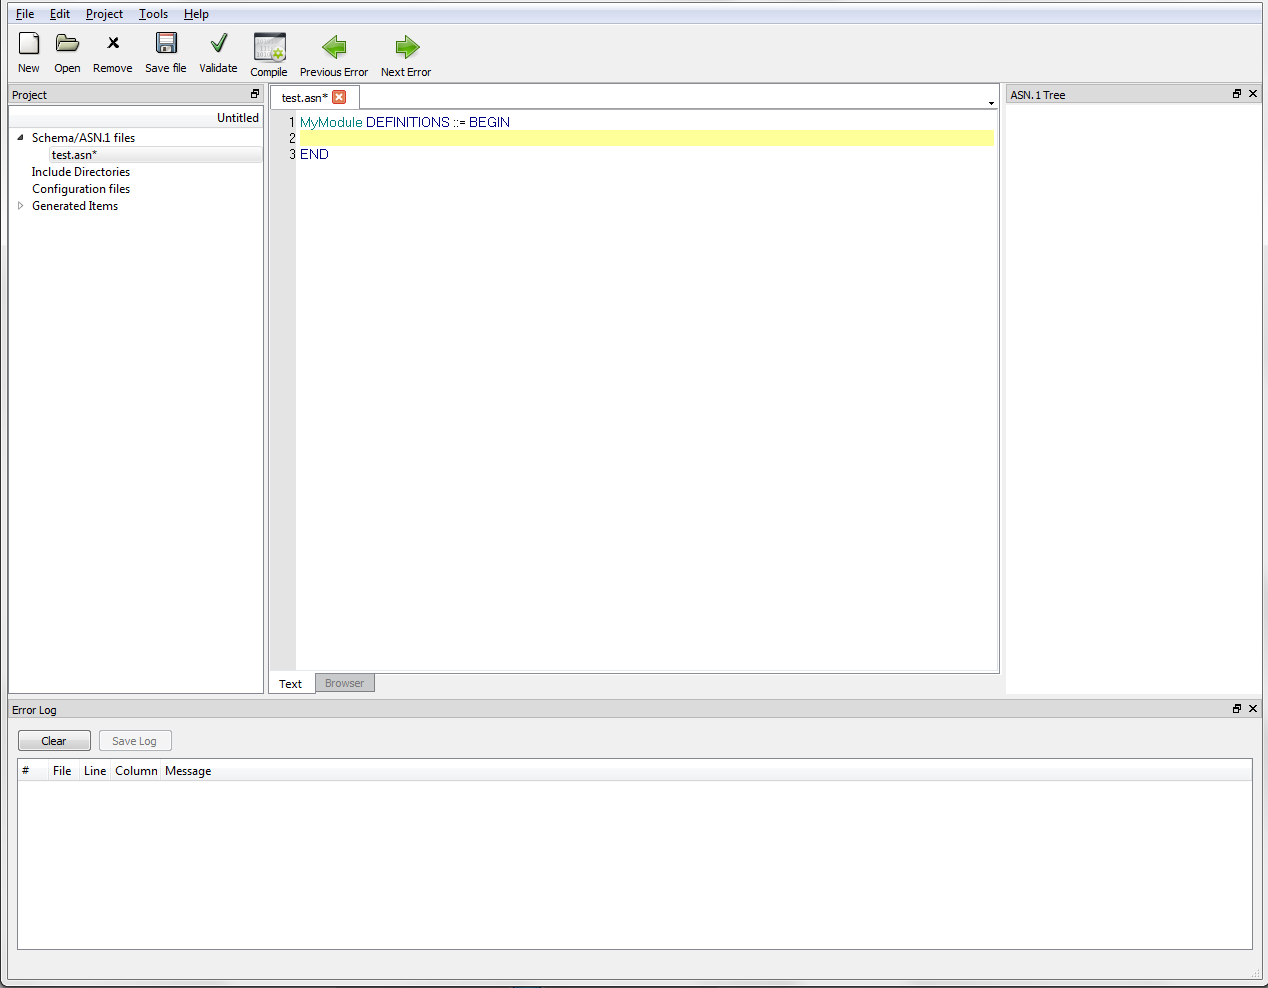
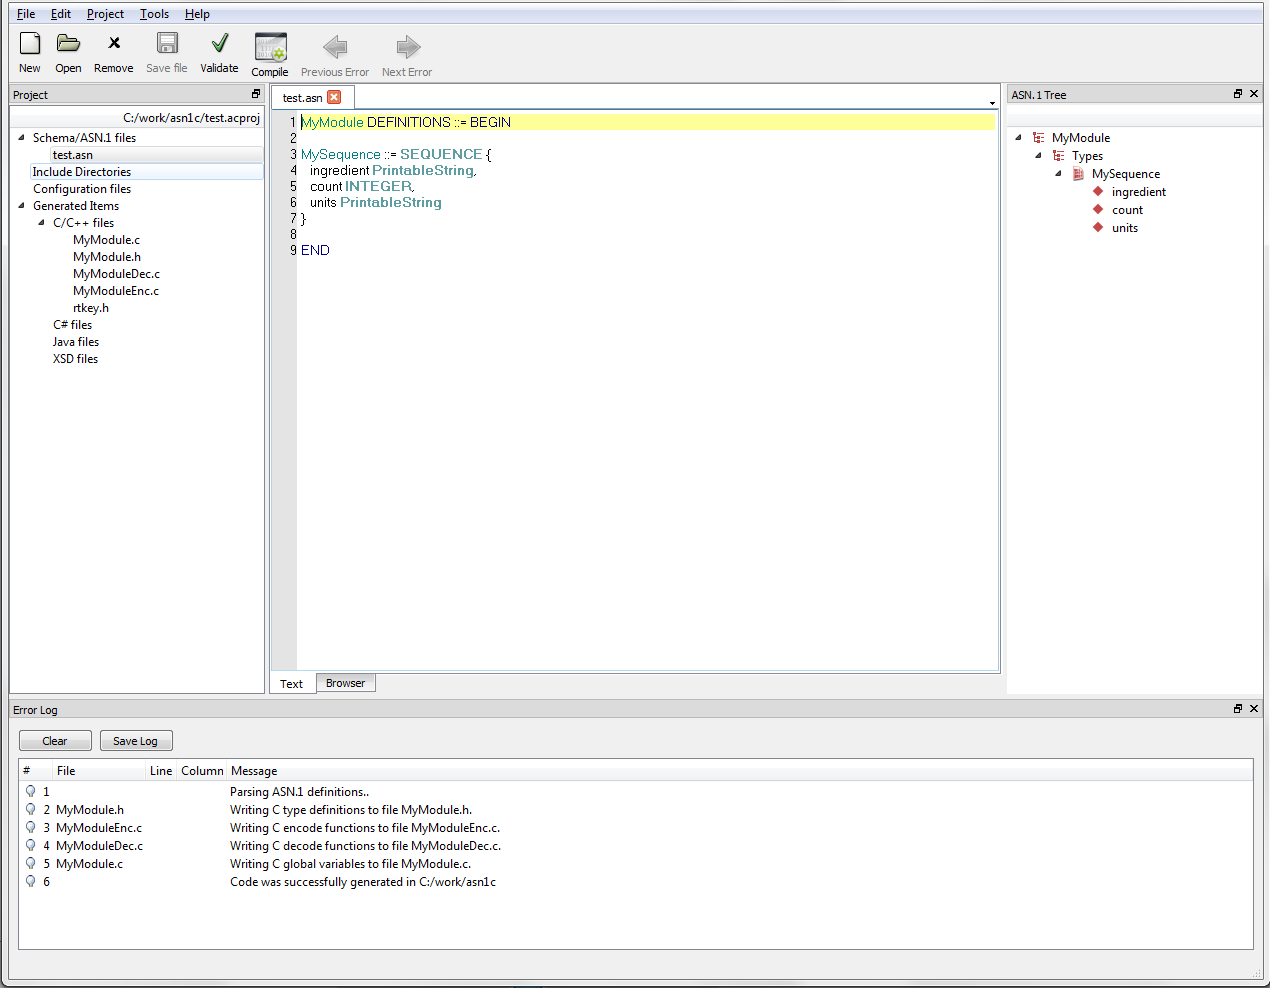
The schema is then written between the "DEFINITIONS ::= BEGIN" and "END" statements in the file. For this example, the following can be entered:
MySequence ::= SEQUENCE {
    ingredient PrintableString,
    count INTEGER,
    units PrintableString
}
Once the schema is created, click Validate to perform a check for errors.
Note
If the new schema file has not yet been saved, ACGUI asks if it should be. Once saved, ACGUI validates the file.
If the schema has errors, they are displayed in the log at the bottom of the ACGUI window.
Once the project has been configured, click Compile to generate code according to the project settings. If compliation is successful, a list of generated files, sorted according to the selected language, is displayed under the Generated Items heading in the Project pane. If compilation is not successful, any errors are displayed in the Error Log.
At this time, project settings can be changed and schema files can be edited as needed.