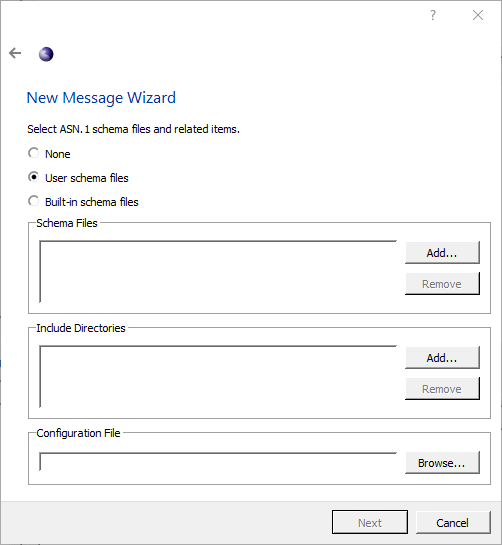
The next page of the wizard prompts for a schema to use. This would be the first page displayed after a file type other than cdr is selected.

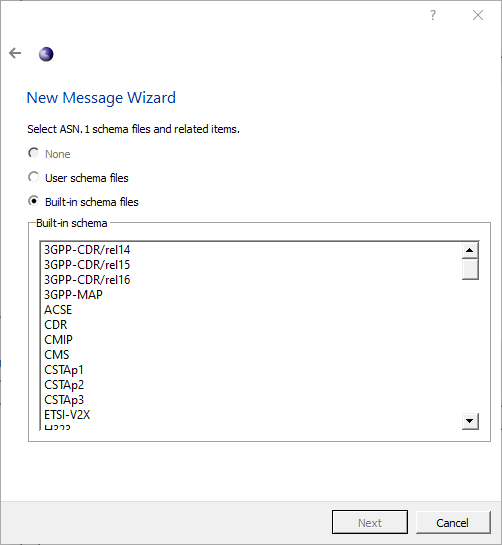
At the top, three options are available, None, User schema files, and Built-in schema files. The None option is only available for BER and allows a user to define a message without schema using hex data. The User schema files option allows the user to select their own ASN.1 schema files. Built-in schema files presents a list of available schemas built into ASN1VE.

Below the selection options, the wizard shows lists for schema files and include directories. ASN.1 schema files should be added to the list of schema files that define the type of message being created. Include directories are directories to search to resolve import statements within the selected schema files.
Clicking Add... next to either list will bring up a file dialog. Navigate to the directory or file(s) to add, highlight them, and click Open.
To remove a listed file or directory, highlight it in the list and click the Remove button next to the list.
Below the schema files and include directories, Configuration File allows the user to apply settings from an Objective Systems configuration file. To select a configuration file, click the Browse... button. See the Configuration Files section for more information.
If Built-in schema files is selected at the top, the wizard will show a list of all the available built-in schemas in ASN1VE. Click to select a schema to use.
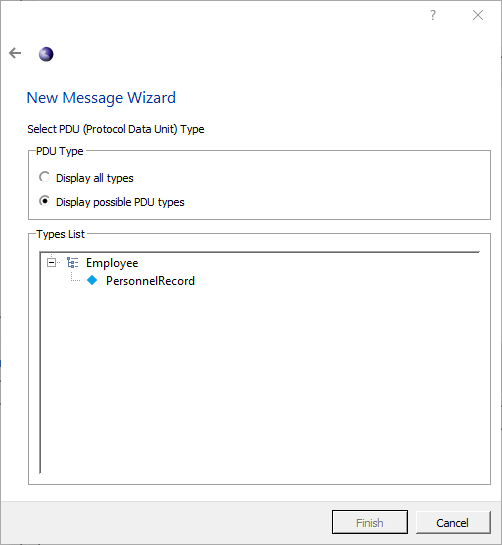
Once a schema has been selected, click Next. The wizard will show a list of types that can be used as the protocol data unit (PDU) for the message.

Click a node to select a PDU type. If the type desired is not shown, clicking Display all types at the top of the window will display a list of all the types defined in the selected schema. Once a PDU type is selected, click Finish.
If on the first page "cdr" was chosen, ASN1VE will prompt the user for a number of records to generate. Otherwise (or after choosing how many records to create), the newly-created message will be shown in the Element View and encoded in the Hex tab.