Minimum Resource Requirements
-
macOS 10.13 or greater
-
Write access to the installation directory
Running the Installation Wizard Program
This section explains how to run the macOS installation wizard setup program.
A distribution setup file containing the complete ASN1VE application should have been provided. This would be a disk image file with a name in the following format:
asn1ve_v***.dmg
where *** would be replaced with the current version number (for example, 360).
Double-click this file. The first window that should appear is this screen:
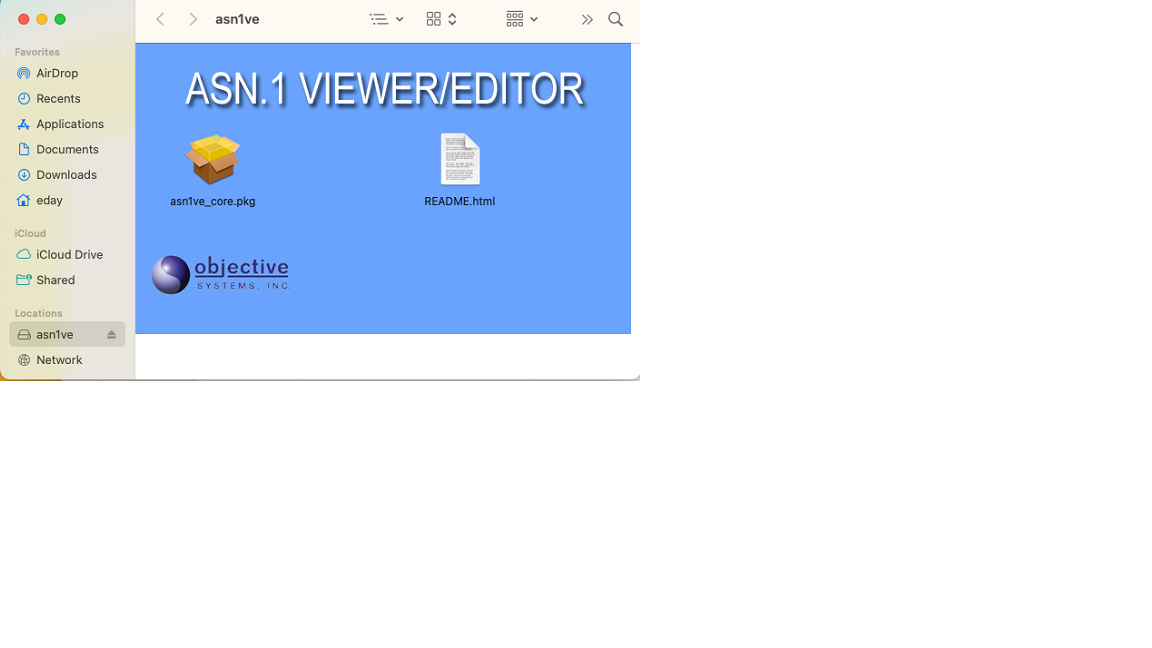
This screen displays a README.html and a package file named asn1ve_core.pkg. Double-click the asn1ve_core.pkg file to install the core ASN1VE software.
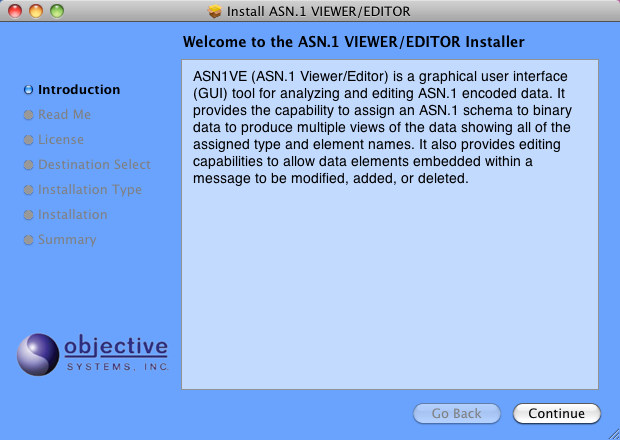
The first screen of the core installation is the Welcome screen:
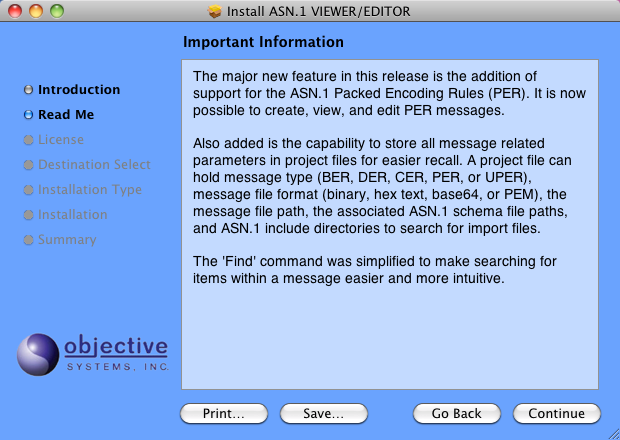
Click Continue. The next screen shows a brief synopsis of changes in the current version of the software. The image may be different from this picture due to software updates.
Click Continue. The License screen displays the Software License Agreement:
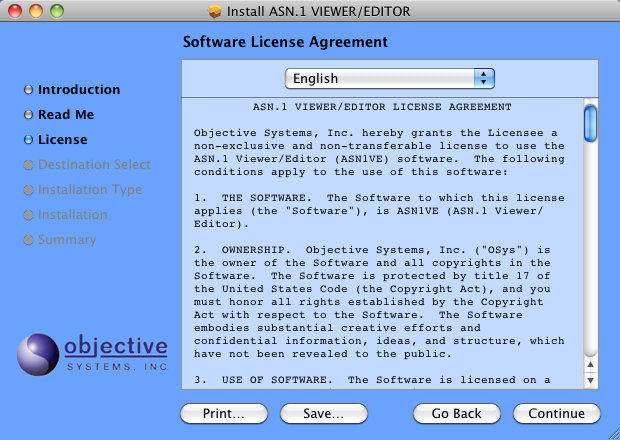
The user should carefully read and understand the license terms. Once this is done, click Continue, and then click Agree.
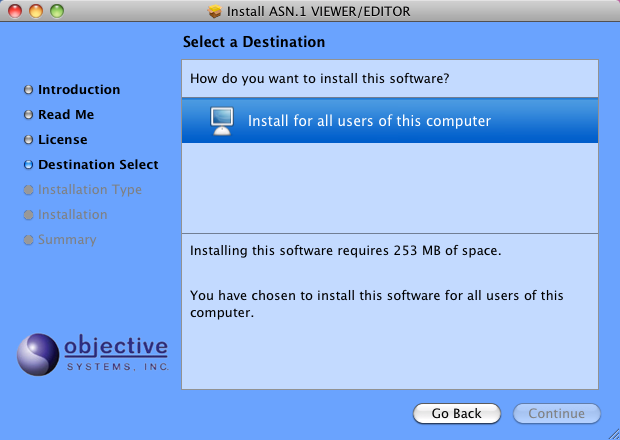
This page, if presented, allows the user to select where to install the software. Select one of the options and click Continue.
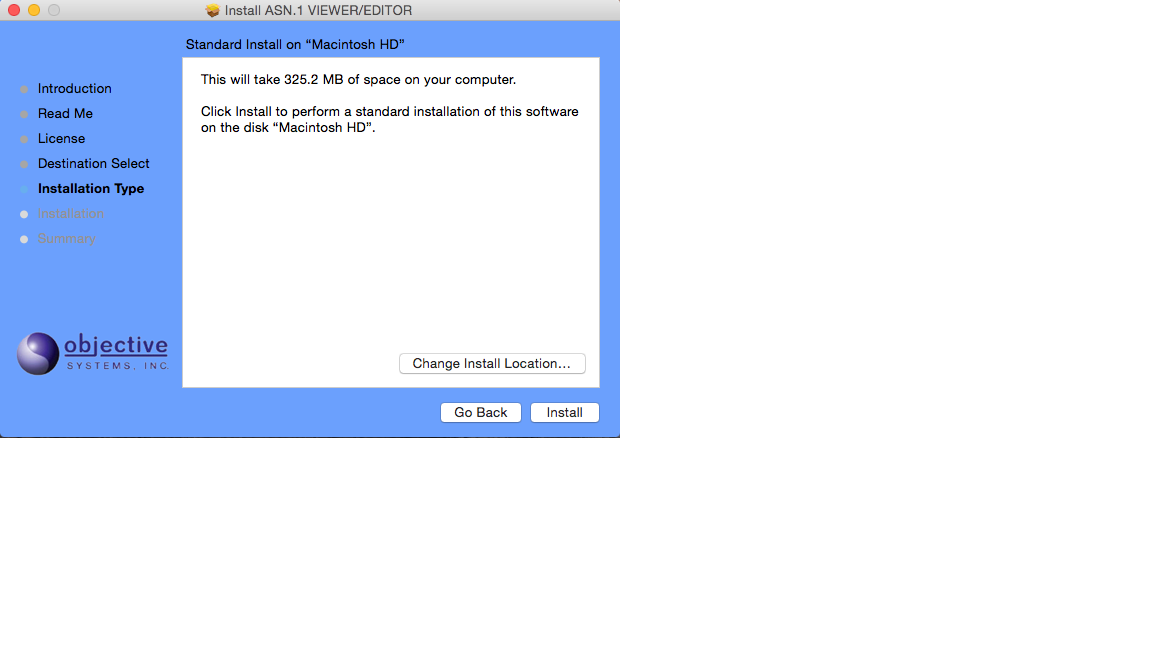
Click Install to complete the setup procedure. The Go Back button can be used to return to a previous page and change settings before completing installation.
The following page is displayed when the installation is complete.
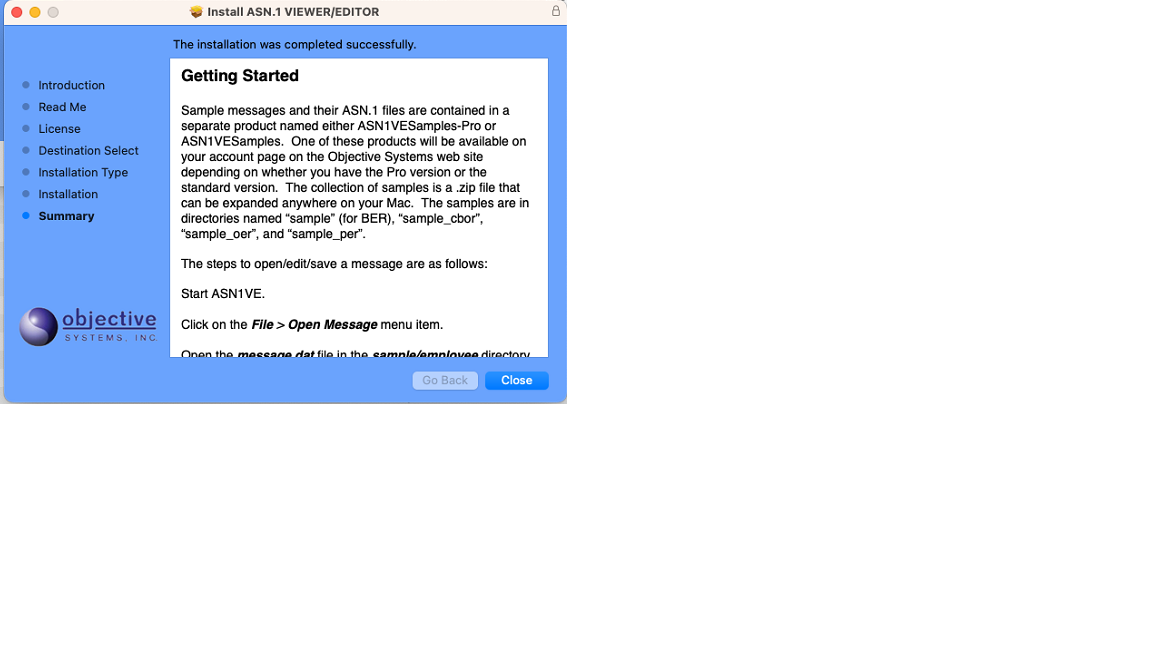
The ASN1VE core application bundle asn1ve.app is installed in the Applications folder.
ASN1VE samples are provided as a separate distribution named either ASN1VESamples-Pro.zip or ASN1VESamples.zip, depending on whether the Pro version or the standard version was purchased. One of these distributions will be available on the user's account page on the Objective Systems web site. The samples are contained in a .zip file that can be expanded wherever desired.